Easton Slickrock 2P
The Slickrock 2P has been discontinued. If you're looking for something new, check out the best three-season tents for 2025.
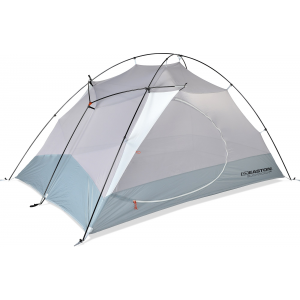
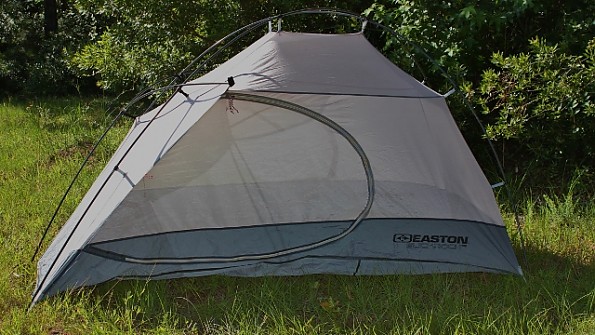
This spacious free standing tent has a lot going for it. It is stable in gusty wind, it has plenty of head and elbow room, there are two entries, two vestibules, and a very light set of carbon poles. If I had any complaint it would be the lack of a vent in the rain fly.
If you are looking for a 2-person double wall tent that allows you to sit up, stretch, and easily change clothes in, take a look at the Easton Slickrock.
Pros
- Spacious interior, lots of headroom and room to stretch
- Lightweight but strong carbon poles
- Holds up to strong winds
- Easy to set up, simple effective design
Cons
- No vent in the rain fly
- Only has one-way zippers on fly doors
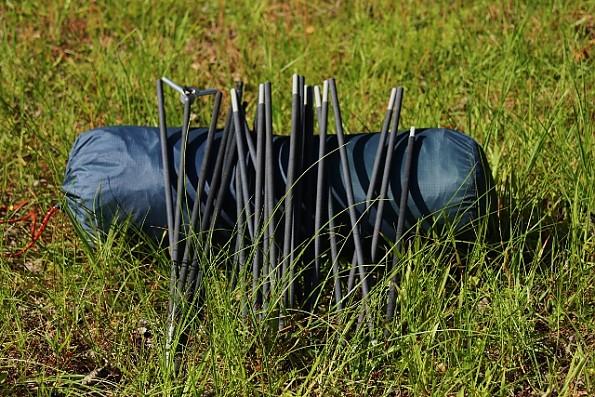
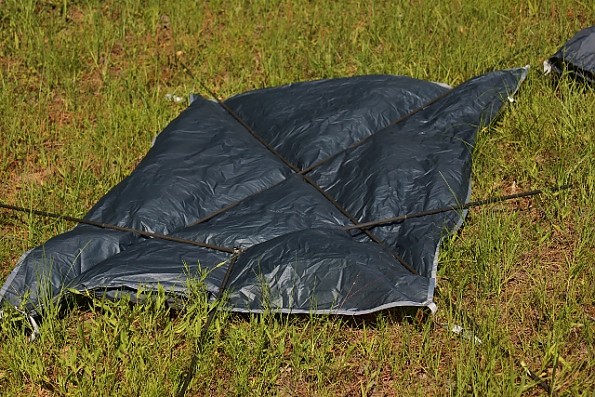
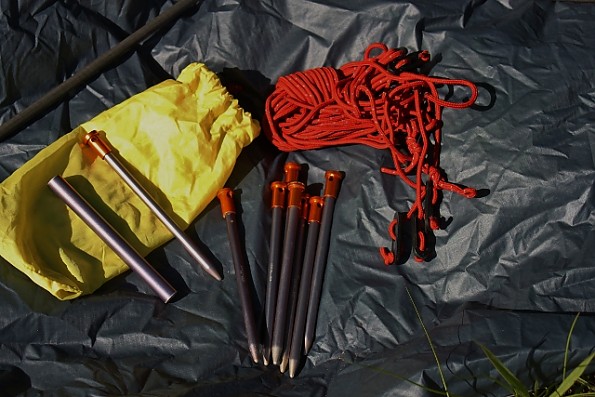
The tent arrived for testing in a 7” x 21” (18 cm x 53 cm) blue stuff sack. The contents included the tent body, rain fly, footprint, poles, stakes* (see below), guy lines, and a pole repair sleeve. The footprint and gear loft are sold separately.
Of course I had to set the tent up in my yard to acquaint myself with it, which was right after supper. Then I sat down inside the tent and read over the manufacturers spec’s which I will list for you here:
Description:
- Two Person - Three Season
- Trail Weight: 4lbs 12oz - 2.15kg
- Pack Weight 5lbs 4oz / 2.41kg
- Pack Size 7 x 20in / 18 x 51cm
- Floor Area 32 sq ft / 3 sq m
- Vestibule Area 17 sq ft / 1.6 sq m
- Head Height 44in / 117cm
Materials:
• Floor: 40D nylon ripstop, 3000mm PU coated, F/R
• Fly: 40D nylon ripstop, 1500mm Sil/PU coated, F/R
• Canopy: Lightweight nylon No-See-Um mesh, F/R
Easton Outfitters Syclone Composite Poles:
“Engineered using advance composites with multidirectional wound construction, Syclone tent poles are the newest innovation in high performance tents and yield 80% more resilience in wind and flex-testing.”
Setting up the tent.
Watch this video to see how the Slickrock tent sets up!
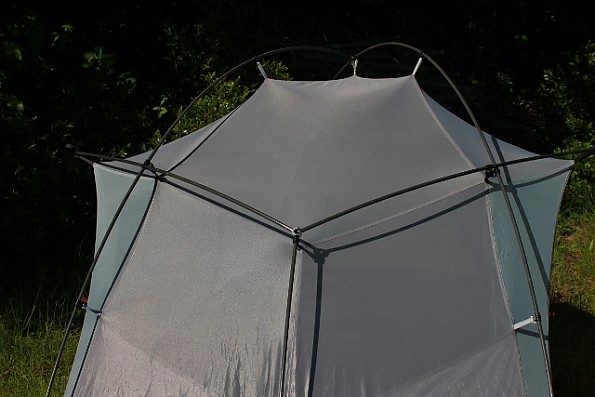
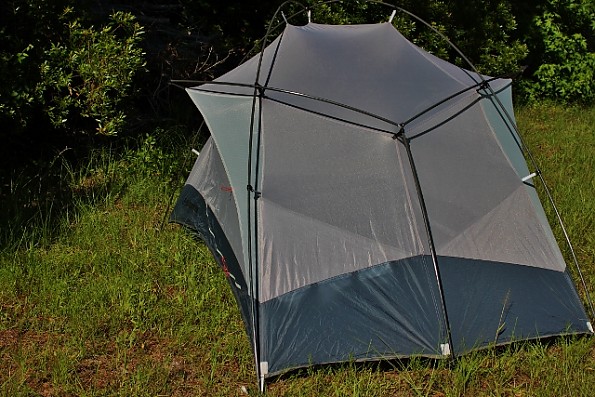
The first thing I noticed using this tent is how light the carbon poles are, and second how much head and shoulder room this tent has. This is due in part to the tall dome shape of the tent.
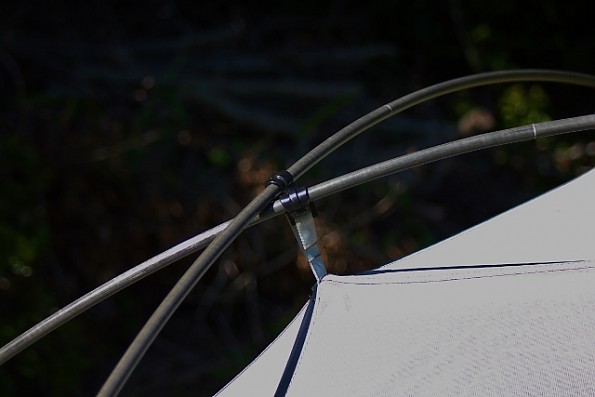
Shoulder room comes from the hubbed Y pole that spreads the tent body out at roughly shoulder height for more interior room. The mesh used on this tent is a grey colored lightweight nylon.
Although the Slickrock is a free standing tent, it came with eight stakes, several adjustable guy lines, and multiple guy-out points on the outside.
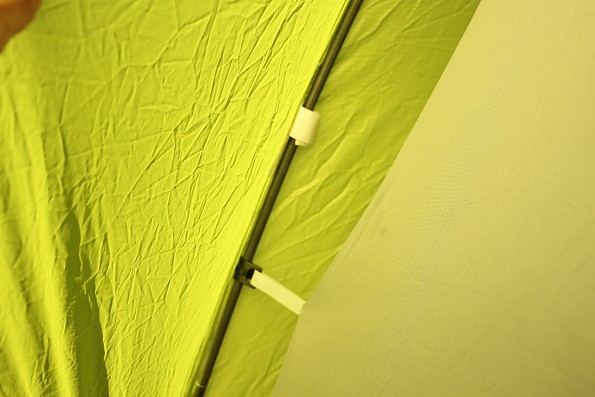
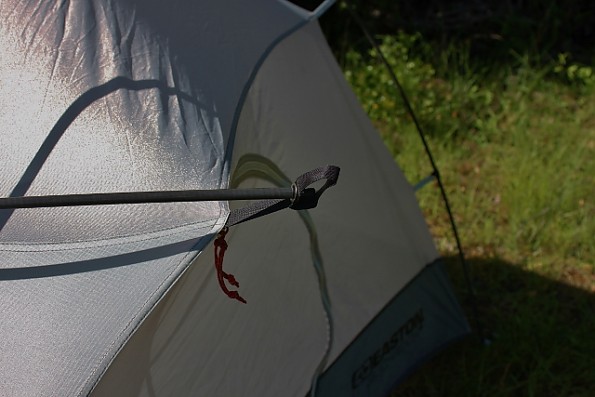
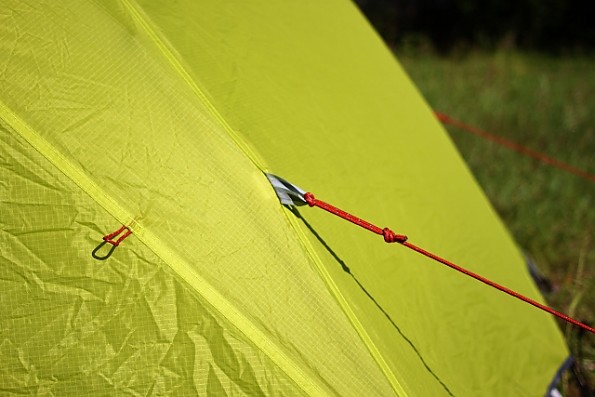
This tent uses two long poles that cross like an X, and three short poles attached to an aluminum Y hub. The inner tent body uses clips to attach to the poles, there are no sleeves. The guy lines are reflective and can be quickly adjusted with a sliding tensioner.
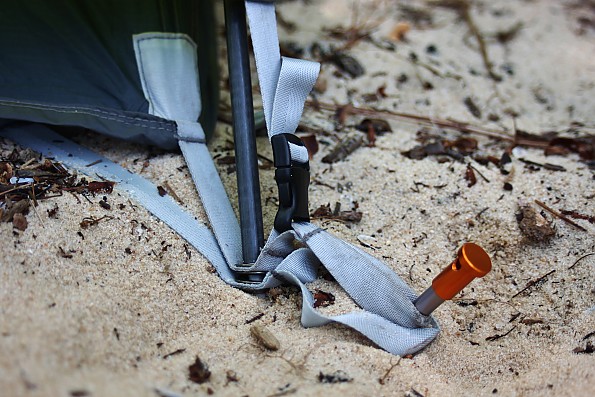
Although Easton includes eight 7075 aluminum V stakes with this tent, the tent stakes supplied with the tent I tested were round 7075 and are available as an optional up grade.
After setting the poles and clipping the inner tent body up, you toss the rain fly over the tent.
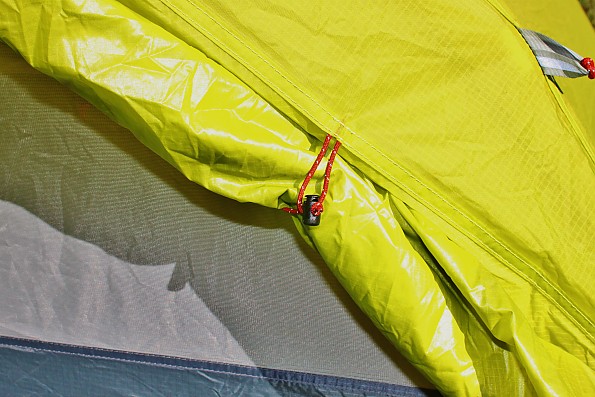
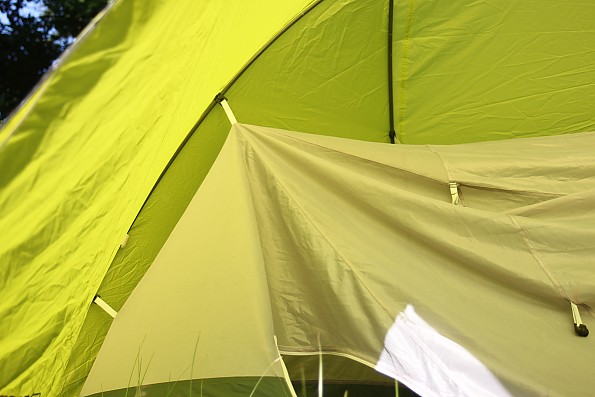
This tent has five plastic snaps with adjustable webbing to attach the fly to the tent body — and Velcro tabs to go around the tent poles.
The webbing is color coded; there are four grey ones and one black one on the front center of the tent. You attach the fly by first snapping the black fly webbing to the black tent webbing; this orients the fly for you. Next snap the grey ones on the tents four corners and stake out the fly to create the vestibules. Stake out the guy lines and start tossing your stuff inside. I found setting the tent up to be quick and easy after doing it a couple times.
Amenities
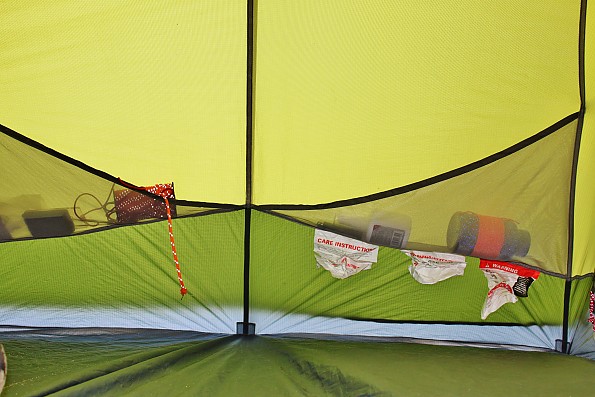
Inside the tent you will find two large mesh pockets up off the floor and out of the way to stow small gear or clothing, I like that they are not down in the floor hanging against my bag or mattress.
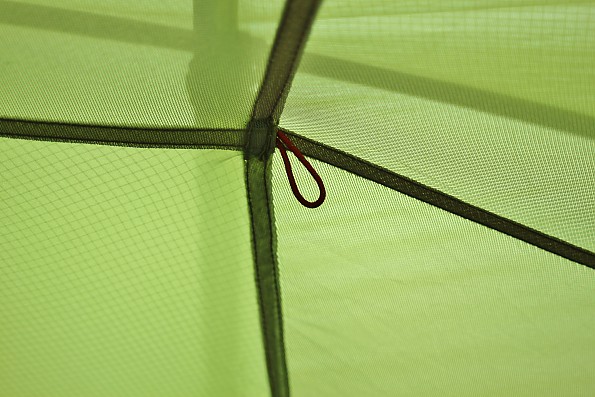
The tent also has overhead loops for an optional gear loft or hanging a light, etc.
I used a DIY loft I already had for another tent. Between the two mesh pockets and the loft I think there is adequate ‘in tent’ storage for two persons. There are two doors and two vestibules.
Pitch Options
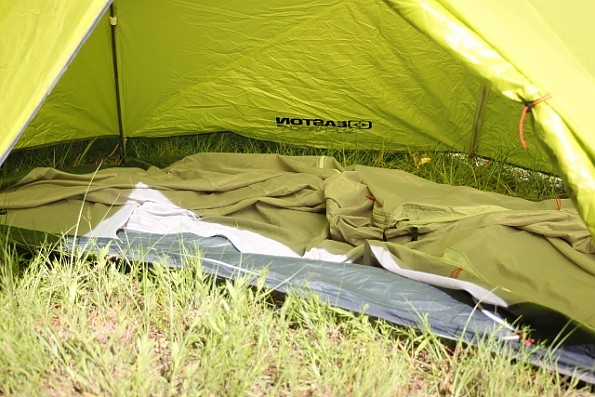
The Slickrock tent cannot be set up with just the poles, fly, and footprint (minus the inner tent body) since the footprint (the one I tested) has no plastic snaps to attach the fly to. However you can unclip the tent body from the poles and just let it lay on the footprint if you want.
In this configuration it is basically a tarp and groundsheet but you still have to carry the tent body. I have other tents that will do this or can be set up minus the tent body and I like the option especially in cold weather, or on the beach front of an island because the constant breeze pushes the flying insects back into the forested areas.
Testing the Tent
I used this tent on four trips from March through May which allowed me to test the tent in temps ranging from 19°F to 93°F (-7° C to 34° C).
There was some ice, some heat and humidity — and one really windy storm, which is what I was hoping for. I got to test the tent on a mountain top, on the edge of a lake island, and in a coastal wetland as well. There is a lot I like about this tent as well as a couple things I would change if I could.
First Trip
After hiking a few miles solo on South Carolina’s Fork Mountain I left the trail and worked my way to the summit and a small clearing I found a few years ago. It was 3:30 p.m. when I got to my spot for the night and it was cold and windy all day so I was happy to set up the tent, change clothes, and fix some coffee.
I packed a 20° F (-7° C) sleeping bag and plenty of fleece with me on the trip. During the night I found the tent did a good job of holding in body heat even though the tent body is mostly mesh. The mesh is very fine and restricts some air flow.
After getting out of the tent a couple times that night and the next night I remember thinking how warm the tent stayed inside compared to the outside air. The first morning there was a little frost on the interior of the rain fly which I found acceptable considering there was freezing rain around 7 p.m. and then everything froze that night. I found the tent spacious, warm, and dry.
Trips 2 & 3
These trips are to my local lake.
The forecast called for stormy weather and on the lake that usually means high winds.
My buddy and I canoed a marked water trail for about an hour and arrived at the leeward side of a large island protected from the wind. We then hid the canoe and backpacked about a mile to a windy beach front on the other end of the island. Wind gusts out on the lake can exceed 60 mph and have caused boats to capsize so I hoped for at least 30 mph gusts.
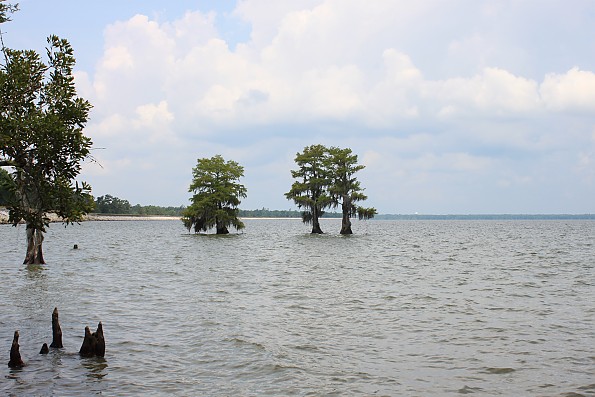
We found a nice camp spot 100’ ft. from the water in the shade of some little Cypress trees and set up the tent. I figure the tiny little T-Rex like limbs on the Cypress trees pose little threat to tenters.
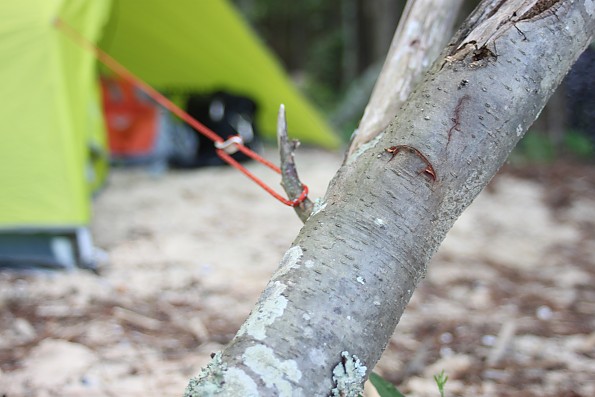
I like the stakes that came with this tent, they have a lot of surface area and hold good. However since we camped on sand I also used two ‘dead man’ anchors buried in the sand to hold the two front guy lines. Having tensioners built into the guy lines makes it easy to attach to solid objects like tree roots or limbs.
After supper we put two Exped air mats in the tent. They both fit with several inches between them. When laying down it was easy to reach over your head into the mesh pockets sewn to the tent wall, I like where Easton put them. We both enjoyed siting up in this tent; you have plenty of room to stretch, look around for things, or change clothes.
Like clockwork for this time of year a big thunderstorm rolled in around 4 pm. After a good half hour deluge the inside of the tent was dry although the two vestibule areas were wet where rain had blown underneath the fly, so I adjusted the fly tighter and closer to the ground which helped some.
After the rain let up I made some more adjustments to the guy lines and rain fly. I found making adjustments on this tent to be easy and secure, even at night with a headlamp, thanks to all the reflective material used.
One thing I did notice after being in the tent during the rain is that it got quite stuffy inside, so I opened the fly doors about halfway up to get more ventilation.
The door zippers in the fly are out far enough that having the fly open in the rain does not drown the inner mesh tent as you are getting in and out. Well, that’s true if the rain is falling straight down, but due to the smallish size of the vestibules on this tent (and lots of other tents like it) you have to scurry under the fly and zip it back quick to keep sideways rain, or blowing snow out.
There was not much room for a backpack and a person to be in the vestibule at the same time, but it was doable. One option in foul weather could be stowing most gear in one vestibule and use the other for coming and going, changing wet or frozen clothes, or leaving the fly partially unzipped and staked open for better ventilation. This is what we did our second night and it worked for us although we did get a small amount of rain mist through the tent mesh at times.
On our second trip to the island we found you can unclip the inner tent from the poles and just let it drop on top of the footprint without completely removing it.
This was great for us because it provided a nice breeze through the fly in the shade of the Cypress trees. Insects were not a problem most of the day because of a steady breeze, and having the fly doors open made coming and going from the tent (tarp at this point) much easier. Later that day we just clipped the inner tent back up.
In high winds though I think you need the inner tent clipped up as part of the tent structure.
Last Trip
On my last trip I went solo into a coastal watershed that ends in a large reservoir, there are lots of wading birds and raptors here that I like to take photos of and sometimes I use a two man tent as a photo blind as well as somewhere to sleep. I have to imagine that other people might want to use this tent solo at times too, not everyone has a solo tent after all.
Because I used a smaller UL pack I on this trip, I just carried the Slickrock tent strapped to the bottom of my pack. It is surely a heavier and bulkier shelter than I have been accustomed to carrying lately, but it can certainly work if you don’t have anything lighter. Sometimes you just go with what you own and have fun.
There was no rain in the forecast but in late spring on the Carolina coast that doesn’t ease the humidity level one bit, it was close to 90° F (32° C ) in the shade and humidity was around 80 – 90%. So I said to myself “Let’s see how the tent does in this weather.” When you are solo it’s okay to have conversations with yourself I reckon.
Because of the heat and humidity it was like a sauna inside the tent during the day and well into the night. Opening the fly doors didn’t help much with air flow through the inner tent. The tents ability to hold heat was a benefit in cold weather, but not now. I think the height of this tent traps more air than a lower profile tent does.
That night as the air cooled I observed condensation had formed inside the rain fly, I don’t think any dripped into the tent though.
I think a vent in the rain fly would improve airflow through this tent making it more comfortable inside.
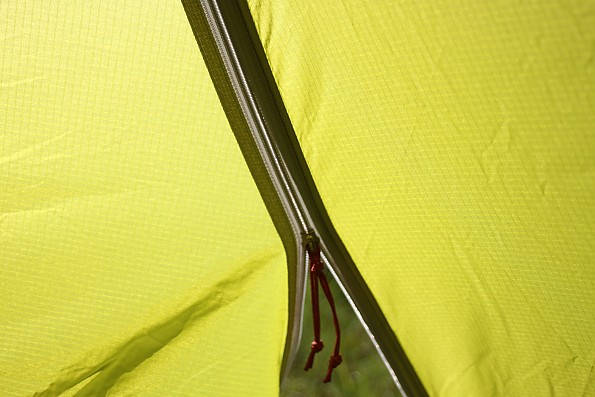
In the past I have been able to get some airflow even in the rain by unzipping just the top of the fly door(s) a couple inches to create some high / low venting. On the Slickrock the fly doors only unzip from the bottom up, in other words they do not have two way zippers; maybe that’s not a big deal to some folks but it’s worth noting.
On my second night it was a sauna again in the tent, but this time I just rolled the fly all the way back off the tent and that made things much more comfortable. Of course you can’t do that in a thunderstorm when you’re sweating inside a humid tent.
Conclusions
So I spent several days and nights testing this tent, plus setting it up several times at my house.
The Easton Slickrock leaves me with an overall positive impression. The tents good initial quality, spacious head and shoulder room, decent size floor for two people, and lightweight poles make it a tent to consider. I think the tent would ventilate better with a vent in the fly, and I would rather have two way zippers on the fly doors, but it was a solid tent in the wind, and easy to set up.
I had no trouble with any part of the tent, zippers, snaps, clips, etc. All worked fine.
I had no leaks, but I did have some condensation which was expected under the circumstances. The tent stakes and guy lines were good quality and functioned fine.
Testing Conditions
Trip 1. Backpacking solo for three days on Fork Mountain, located in the Blue Ridge Escarpment area of northwest South Carolina. It was cold, wet, and windy with sub-freezing temps at night.
Trips 2 & 3. Canoeing to and backpacking on an island, located on Lake Moultrie South Carolina. The weather was warm in the day and cool at night, with big thunderstorms in the afternoons. Lots of wind.
Trip 4. Backpacking solo into a coastal wetland full of lush vegetation and wildlife. Located in the A.C.E. Basin Watershed, southeast South Carolina. Hot and humid during the day, showers in the evenings to cool things off and then the wind dies as the sun sets, cooler at night but no breeze and still very humid. Very buggy as the sun set and on into the night.
I hope this review was useful in your search for the right tent!
Mike Gartman.
Source: received for testing via the Trailspace Review Corps
(Sample provided by Easton for testing and review)
Your Review
You May Like
Specs
| Price |
MSRP: $299.00 Historic Range: $134.73-$209.27 |
| Trail Weight |
4.8 lb / 1.68 kg |
| Floor Area |
32 sq ft |


